
How to Make Homemade Ice Cream a Creamy, Dreamy Success
Making your own ice cream at home is one of those simple pleasures that feels like a little bit of magic. It really boils down to two main approaches: the classic, ridiculously rich custard style, or a surprisingly easy no-churn version. With a handful of good ingredients and either an ice cream machine or just a loaf pan, you can whip up desserts that leave store-bought pints in the dust.
The Real Joy of Crafting Ice Cream at Home
There’s a reason people fall in love with making their own ice cream, and it’s about so much more than just dessert. It's about taking back control. You decide what goes in—no weird preservatives, no artificial flavors, just fresh cream, real vanilla, and perfectly ripe fruit.
And honestly, the process is half the fun. It’s a fantastic way to get the family together in the kitchen. Seeing a liquid base slowly churn and freeze into a creamy, dreamy scoop in a machine like the Cooler Kitchen 1.2-quart electric maker is a genuinely cool experience. It turns dessert from something you just buy into something you create together.
Why Is Everyone Suddenly an Ice Cream Expert?
It’s not your imagination; the homemade food scene has exploded, and ice cream is right at the center of it. We're all looking for better, more personalized food experiences. It shows in the numbers, too—the global ice cream market was valued at over USD 83 billion and is still growing. That boom is all about the demand for high-quality, artisanal products, which is exactly what you get when you make it yourself. You can dig into some of the market trends driving consumer choices if you're curious.
Beyond just tasting better, making your own has some real perks:
- You're the Boss of the Ingredients: Need it dairy-free? Lower in sugar? You can tweak any recipe to fit your dietary needs perfectly.
- Your Imagination Is the Only Limit: Once you nail the base recipe, the sky's the limit. Think lavender-honey, salted caramel with pretzel chunks, or spicy Mexican chocolate.
- Gourmet Flavor Without the Gourmet Price: Crafting a pint of top-tier ice cream at home costs a fraction of what you'd pay at a specialty scoop shop.
In this guide, we’ll walk through both methods—the traditional custard and the game-changing no-churn technique. I promise, amazing homemade ice cream is within your reach.
Setting Up Your Kitchen for Ice Cream Success
Before you even think about cracking an egg or pouring cream, let's talk about setting up your workspace. Getting your tools and ingredients in order is the secret weapon for achieving that gloriously smooth, creamy texture we're all after. It's less about having a fancy kitchen and more about understanding why each piece of the puzzle matters.
The star of the show for traditional ice cream is, without a doubt, an ice cream maker. The whole point of churning is to break up ice crystals as they form and to incorporate a bit of air. Without it, you get a solid, icy block. A straightforward, reliable model like the Cooler Kitchen 1.2-quart electric maker is a great place to start, especially for families. It handles the most critical step for you, giving you a consistently smooth result every time.
But don't worry if you don't have one! Our no-churn recipes bypass the need for a machine and rely on a few kitchen staples you probably already have.
The Essential Toolkit
Whether you're making a classic churned custard or a quick no-churn batch, a few basics are non-negotiable. You’ll want a good set of mixing bowls, a sturdy whisk to bring your base together, and a flexible spatula to scrape every last drop from the sides of the bowl.
If you’re tackling a no-churn recipe, a hand or stand mixer becomes your best friend. It’s the key to whipping cream to those perfect peaks. For either method, having a quality tool to aerate your base is a game-changer; you can check out some of the best electric whisk options to see what fits your style.
For those delicious, rich custard-based ice creams, you'll need a couple of extra items:
- A medium saucepan for gently heating your milk and cream.
- A fine-mesh sieve to strain the finished custard. This catches any rogue bits of cooked egg and guarantees a silky-smooth base.
- An airtight, shallow container for freezing. A wider, flatter shape helps the ice cream freeze faster and more evenly, which is another secret to preventing ice crystals.
Here’s a pro tip that can make or break your batch: Your ice cream maker’s freezer bowl must be completely frozen. I’m talking a minimum of 24 hours in the absolute coldest part of your freezer. If you give it a shake and hear even the faintest slosh of liquid, it’s not ready. A partially frozen bowl will result in soupy, sad ice cream that never quite sets up.
Why Your Ingredients Matter
The real magic of ice cream happens at a molecular level, and it all boils down to the beautiful science of fat, sugar, and water. Every one of the core ingredients has a specific job to do. Understanding their roles is what separates following a recipe from truly mastering the craft.
Ingredient Roles in Homemade Ice Cream
| Ingredient | Primary Role in Texture | Impact on Flavor |
|---|---|---|
| Heavy Cream | Its high fat content is the key to that rich, luxurious mouthfeel. Fat coats ice crystals, keeping them small and the texture smooth. | Delivers that classic, decadent milky flavor. |
| Whole Milk | Balances the richness of the heavy cream. It prevents the final product from feeling heavy or greasy. | Lightens the base, which allows other added flavors (like vanilla or chocolate) to really pop. |
| Sugar | More than just a sweetener, sugar lowers the freezing point of the mixture. This is what keeps your ice cream soft and scoopable. | Provides the sweetness we all crave and enhances the overall flavor profile. |
| Egg Yolks | These are the ultimate emulsifiers. They bind the fat and water together, preventing separation and creating an ultra-creamy, stable base. | Add that unmistakable rich, custardy flavor and a lovely natural yellow hue. |
This balance is absolutely crucial. If you try to swap heavy cream and whole milk for, say, a low-fat milk, you're adding a lot more water to the equation. And more water inevitably leads to a harder, icier final product. Once you grasp how these building blocks work together, you'll be able to troubleshoot any issues and eventually start inventing your own amazing flavors with total confidence.
Mastering the Classic Custard-Style Method
If you're chasing that dense, velvety, almost chewy texture you find in high-end ice cream parlors, the classic custard method is where it's at. This is the golden ticket to unbelievably rich and creamy homemade ice cream. It does ask for a bit more patience, but trust me, the luxurious result is worth every second.
The secret is a beautiful, rich egg custard base. By gently cooking egg yolks with milk and cream, you create a natural emulsifier that works wonders. Those little yolks are the key to preventing large, crunchy ice crystals, ensuring every scoop is silky-smooth. A big part of this process involves the technique of simmering the dairy; you want it hot, but never boiling.
This whole process really boils down to three main stages: mixing, heating, and freezing.
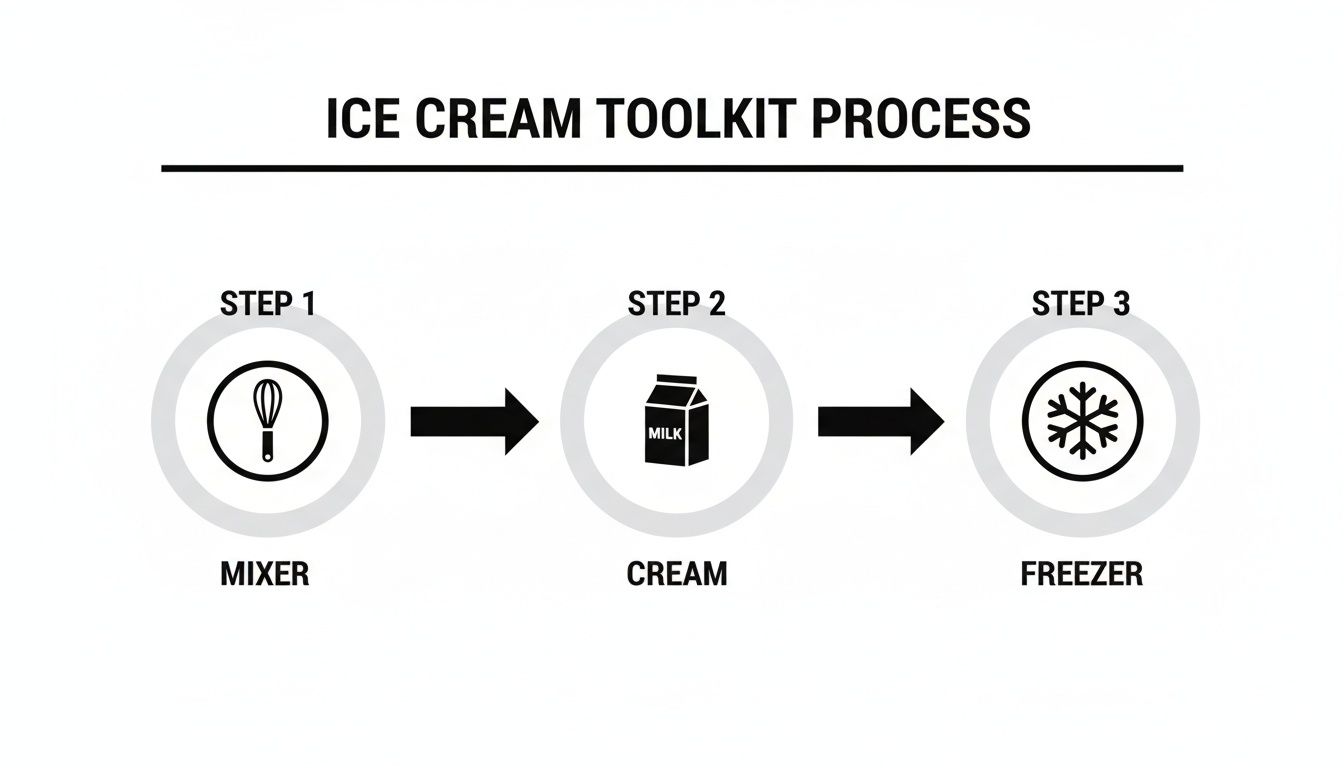
Think of it as a sequence. Each step builds on the last, so getting one right sets you up for success on the next.
The Art of Tempering Egg Yolks
Okay, let's talk about the one step that seems to intimidate everyone: tempering the eggs. All this means is slowly bringing the egg yolks up to temperature without scrambling them. It sounds tricky, but it's simple if you don't rush it. This is the most common spot where things can go wrong.
First, get your egg yolks and sugar into a bowl and whisk them together until they're pale and a little thicker. While you’re doing that, gently heat your milk and cream in a saucepan over medium heat. You’re looking for it to get steamy with tiny bubbles forming right at the edge.
Now for the key part. Take the saucepan off the heat. Grab a ladle and slowly—and I mean slowly—drizzle just a little of the hot cream into the egg yolks while you whisk continuously. Keep whisking and add another ladleful. This gradual introduction of heat is what keeps the eggs from turning into sweet scrambled eggs.
Crucial Takeaway: Tempering is all about control, not speed. By whisking in about one-third of the hot liquid into the yolks before combining everything, you guarantee a perfectly smooth, lump-free custard.
Cooking and Chilling Your Custard Base
Once your yolks are tempered, you can pour that warmed egg mixture back into the saucepan with the rest of the cream. Put the pan back on low-medium heat and start stirring. Don't walk away! You need to stir constantly with a wooden spoon or a heatproof spatula.
Your goal is to thicken the custard until it can coat the back of a spoon. This usually takes about 8-10 minutes. The classic test? Dip your spoon in, pull it out, and run your finger across the back. If the line holds its shape and the custard doesn’t run back together, you've nailed it.
Get it off the heat immediately. To be extra sure you have a perfect texture, I always pour the finished custard through a fine-mesh sieve into a clean bowl. This will catch any tiny bits of cooked egg you might have missed.
The final step is absolutely non-negotiable: chilling.
- Cool It Down: First, let the custard cool on the counter for about 20 minutes.
- Cover and Refrigerate: Press a piece of plastic wrap directly onto the surface of the custard. This little trick prevents a skin from forming.
- Chill Thoroughly: Now, pop it in the fridge for a minimum of 4 hours. Honestly, overnight is even better.
This long chill is essential. If you try to churn a warm or even slightly cool base in your Cooler Kitchen ice cream maker, you'll just end up with a soupy, icy mess because it won't freeze quickly enough. A properly cold base churns fast, creating the tiny ice crystals that are the hallmark of exceptionally creamy homemade ice cream.
Ditching the Machine: How to Master No-Churn Ice Cream
What if you could whip up incredibly rich, creamy ice cream with zero special equipment? It sounds almost too good to be true, but that’s the beauty of the no-churn method. This technique is a total game-changer, relying on a bit of clever kitchen science to give you a perfectly smooth texture without an ice cream maker in sight.
The secret is all about the partnership between two powerhouse ingredients: sweetened condensed milk and whipped heavy cream. The condensed milk provides the ideal balance of sugar and milk solids, which is crucial for lowering the freezing point and keeping your final product from turning into a rock-solid ice block.
Meanwhile, the whipped cream is doing the heavy lifting, trapping tiny air bubbles that mimic the churning process. This aeration is what gives no-churn ice cream its light, scoopable structure.
The Make-or-Break Step: Whipping the Cream
The success of your no-churn ice cream really comes down to how well you whip the heavy cream. You’re not just looking for a little volume; you’re aiming for stiff peaks. This is the point where the cream is thick enough to stand up on its own when you pull the beaters away.
If you stop whipping when you only have soft, droopy peaks, the ice cream will turn out much denser and you'll likely get some unwanted iciness. Take your time with this.
Think of it this way: all the air you incorporate before freezing is what replaces the machine's churning action. That air creates space between the ice crystals, which is the key to a silky-smooth mouthfeel. Rushing this part is the number one mistake people make.
Once you’ve got those perfect stiff peaks, it's time to fold in your sweetened condensed milk and flavorings, like a splash of good vanilla extract. The keyword here is fold. Use a spatula to gently combine everything, taking care not to knock out all that precious air you just worked so hard to create. This delicate touch is what preserves the light, fluffy texture that makes this method so fantastic.
It's a principle that applies to other homemade goodies, too. You can learn more about creating the perfect consistency in our guide to making homemade yogurt.
Freezing for a Flawless Finish
With your base all mixed, the final stage is a patient freeze. A few simple tricks at this point can make a huge difference in preventing ice crystals and ensuring an even texture.
- Pre-Chill Your Container: Pop your loaf pan or freezer-safe container into the freezer for about 20 minutes before you pour the base in. A cold container helps the mixture freeze faster and more evenly from the start.
- Create a Barrier: Before sealing the container, press a small piece of parchment paper or plastic wrap directly onto the surface of the ice cream base. This simple step is the best way to stop ice crystals from forming on top.
- Don't Rush It: Your ice cream needs a solid 6-8 hours in the coldest part of your freezer to set up properly. I know it’s tempting, but try to resist opening the door to check on it.
This method is wonderfully forgiving and provides the perfect blank slate for you to get creative with all sorts of flavors and mix-ins.
Time to Get Creative: Flavors and Mix-Ins
Once you've nailed down the custard and no-churn bases, you're ready for the best part of making ice cream at home: playing with flavors. This is where you can really let your creativity shine and go way beyond the standard vanilla and chocolate. Think of it as your own personal scoop shop.
It turns out you’re not alone in wanting something more interesting. The gourmet ice cream market is absolutely booming—it’s projected to grow by USD 12.36 billion by 2029. People are hungry for unique, high-quality frozen treats, and making your own puts you ahead of the curve. You can dive deeper into this trend by exploring the full analysis of the gourmet ice cream market.
Building Flavor From the Start: Infusing Your Base
One of my favorite pro-level tricks for creating deep, complex flavor is infusion. It sounds fancy, but all you're doing is steeping aromatic ingredients right in your milk and cream as they warm up. It’s a simple step that makes a world of difference.
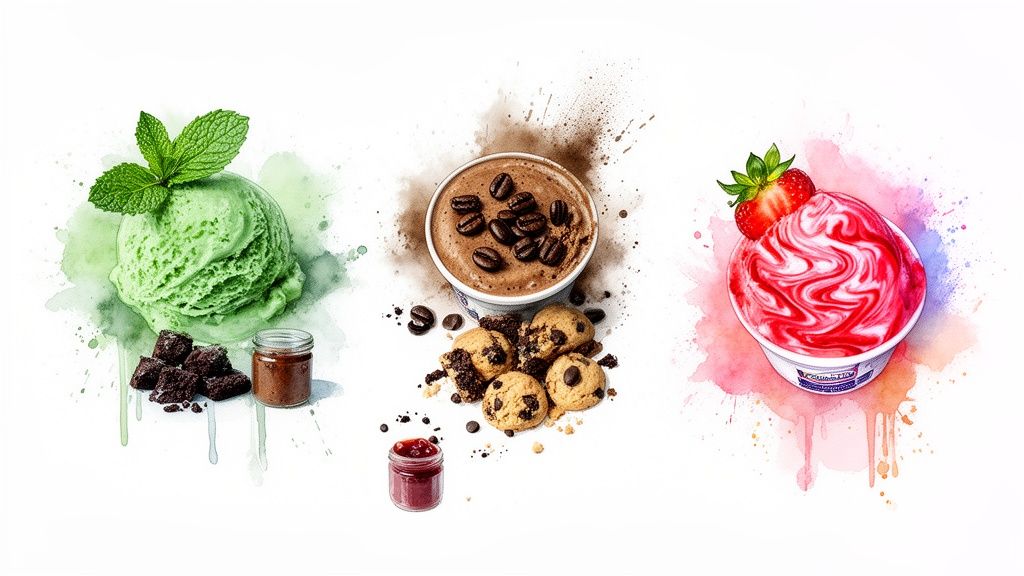
Here are a few ideas to get you started:
- Fresh Herbs: Try bruising a handful of fresh mint or basil leaves and letting them hang out in the warming dairy. Just be sure to strain them out before you temper your eggs.
- Coffee & Tea: For a truly authentic flavor that extracts just can't replicate, add whole coffee beans or a few strong tea bags (Earl Grey or chai work beautifully) to the cream.
- Whole Spices: Cinnamon sticks, crushed cardamom pods, or star anise create wonderfully warm, spiced ice creams that are perfect for the cooler months.
The secret here is patience. Let your ingredients steep in the warm cream for at least 30 minutes with the heat off. This gives the flavors time to infuse fully without turning bitter, leaving you with a perfectly nuanced base.
Getting Your Mix-Ins Just Right
The timing and prep of your mix-ins can make or break your ice cream’s texture. Add them too soon, and they’ll get soggy and lost. Add them too late, and they won't mix in evenly.
Here's the golden rule: fold in your mix-ins during the last 1-2 minutes of churning. Your ice cream should look like soft-serve at this point—thick enough to suspend all those goodies without letting them sink to the bottom.
Got chunky additions like cookie dough or brownie bits? I always freeze them on a baking sheet for at least 30 minutes first. This little trick keeps them firm so they don't fall apart and dissolve into the base. If you need some inspiration, our Giant Blizzard Cookies are practically begging to be crumbled into a fresh batch of vanilla.
Solving Common Homemade Ice Cream Problems
It's a heart-sinking moment: you’ve put all this time and effort into a batch of homemade ice cream, only for it to turn out... not quite right. But don't throw in the towel! Most of these little mishaps are classic rites of passage for home ice cream makers, and they're almost always fixable.
Figuring out what went wrong is the first step to making your next batch absolutely perfect.
One of the biggest culprits is a texture that’s more icy than creamy. This almost always comes down to large ice crystals forming during the freezing process. It could be that your base wasn't cold enough before it hit the churner, or maybe your machine's freezer bowl wasn't frozen solid. The real secret to that ultra-smooth, scoop-shop texture is a fast freeze. The quicker it freezes, the smaller the ice crystals.
Another common headache is ice cream that stays stubbornly soft or soupy, even after a full night in the freezer. When this happens, take a look at your recipe's ratios. Too much sugar is a frequent offender, as it lowers the freezing point of the mixture and can stop it from ever hardening properly.
Why Is My Ice Cream Icy?
Nothing ruins the magic of homemade ice cream faster than a grainy, icy texture. The whole game is about keeping those ice crystals tiny and undetectable, and that really boils down to two things: fat and speed.
- Don't Skimp on the Fat: Fat is your best friend here. It literally coats the water molecules in your base, physically blocking them from grouping up into big, crunchy ice crystals. This is why swapping heavy cream for low-fat milk is a one-way ticket to an icy batch.
- Keep it Churning: The constant motion of the churner is what breaks up ice crystals as they try to form. Let your machine do its job without interruption until the ice cream is the consistency of thick, luscious soft-serve.
- A Quick Transfer is Key: The second your ice cream is done churning, get it into a container and into the freezer. If it sits out and starts to melt even a little, you're just inviting large crystals to form as it refreezes.
Here's a pro tip I swear by: Pop your airtight storage container in the back of the freezer for about 20 minutes before you start churning. Dumping freshly churned ice cream into a frosty container gives it a head start on freezing solid, which means less time for those pesky ice crystals to grow.
Troubleshooting an Eggy Taste
If your beautiful custard-based ice cream tastes more like sweet scrambled eggs, the problem happened at the stove. It's a sign the egg yolks were cooked a little too aggressively.
The fix is all in the technique. When you’re tempering the eggs, you have to introduce the hot cream slowly, whisking constantly to gently bring the yolks up to temperature. Once you return the whole mixture to the pot, keep the heat low—never boiling—and stir like you mean it.
The very second the custard is thick enough to coat the back of a spoon, pull it off the heat. Straining it immediately through a fine-mesh sieve is a non-negotiable step that not only catches any bits of cooked egg but also stops the cooking process in its tracks. This will give you that silky, rich flavor you were aiming for, with no eggy notes in sight.
We've all been there—a batch of ice cream that's too hard, too soft, or just plain weird. Here's a quick cheat sheet for diagnosing and fixing the most common issues.
Quick Fixes for Common Ice Cream Issues
| Problem | Likely Cause | Prevention and Solution |
|---|---|---|
| Icy or Grainy Texture | Large ice crystals formed during freezing. | Ensure the base is thoroughly chilled (4+ hours). Freeze the machine's bowl for at least 24 hours. Use higher-fat dairy like heavy cream. |
| Won't Freeze Solid | Too much sugar or alcohol in the base, lowering the freezing point. | Double-check your recipe's ratios. Reduce sugar slightly, or add alcohol mix-ins only at the very end of churning. |
| Hard as a Rock | Low fat or low sugar content. Insufficient air incorporated during churning. | Custard bases with egg yolks stay softer. Adding 1-2 tablespoons of a neutral spirit (like vodka) can also help prevent it from freezing solid. |
| Eggy Taste | The egg yolks in a custard base were overheated or scrambled. | Temper the eggs slowly. Cook the custard over low, gentle heat and stir constantly. Strain the base immediately after cooking. |
| Gummy or Chewy Texture | Overuse of stabilizers like cornstarch or gelatin, or over-churning. | Use stabilizers sparingly and follow recipe amounts precisely. Stop churning as soon as the ice cream reaches a thick, soft-serve consistency. |
Remember, every batch is a chance to learn. Don't be discouraged if one doesn't turn out perfectly—just take note of what happened and tweak your process for next time. Soon enough, you'll be troubleshooting like a pro.
Got Questions? Let's Talk Ice Cream
Even with a great recipe in hand, a few questions always seem to come up when you're making ice cream for the first time. It's totally normal. Here are some of the most common things people ask, so you can feel like a pro from your very first batch.
How Long Does Homemade Ice Cream Last?
For the best possible taste and texture, you’ll want to eat your homemade ice cream within 1 to 2 weeks. It just doesn't have the same shelf life as the pints from the store.
The reason is simple: our recipes don't use the commercial stabilizers that big brands do. This makes homemade ice cream more prone to getting icy over time. To keep it at its best, store it in a shallow, airtight container tucked way in the back of your freezer where the temperature stays nice and cold.
Can I Use Low-Fat Milk or Cream?
You can, but I wouldn't recommend it if you're after that classic, creamy texture. Fat is what makes ice cream rich and smooth; it's the magic ingredient that keeps large, crunchy ice crystals from forming.
Switching to low-fat dairy will give you a much icier, harder result. For that authentic, scoop-shop mouthfeel, sticking with heavy cream and whole milk is definitely the way to go.
The Unskippable Step: Do I absolutely need to chill my custard base before churning? Yes, a thousand times yes! This is the one step you just can't skip with a custard-style ice cream. A properly chilled base—for at least 4 hours, but overnight is even better—freezes much faster in the machine. That quick freeze is the secret to getting the smallest possible ice crystals, which is what gives you that incredibly smooth texture we're all aiming for.
Ready to start your own ice cream adventure? The Cooler Kitchen 1.2-quart electric ice cream maker is the perfect tool for creating delicious, family-friendly frozen treats right at home. Find yours at the Cooler Kitchen website.
Article created using Outrank